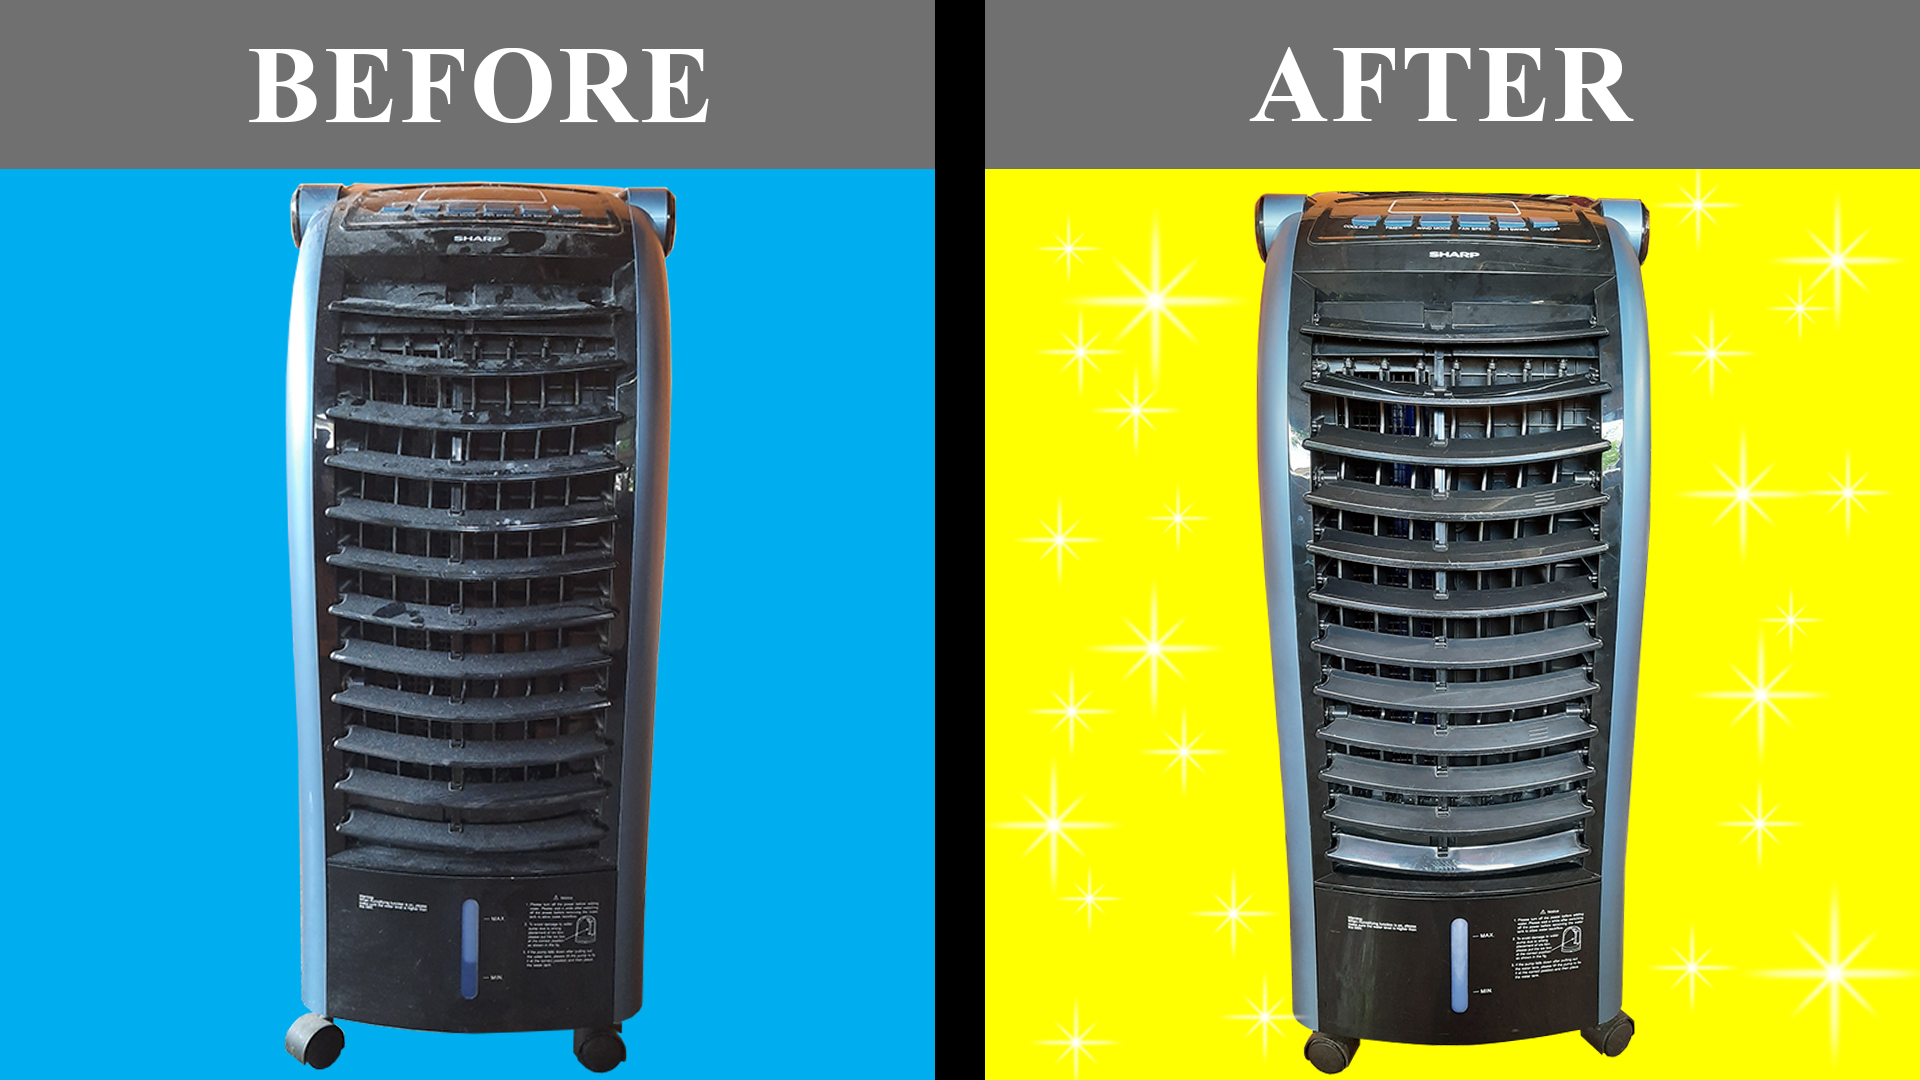
Hi guys, today I want to share how to clean and service air cooler SHARP (PJA36TVB). Cleaning and servicing the air cooler regularly can restore the performance of the air quality. In addition, it gives health advantages because dust and pollen are accumulated in it. The best way to clean and service the air cooler is by teardown or disassemble all parts. The link tools I used are listed below:
Tools/Components/Items (Shopee):
Air Cooler SHARP (PJA36TVB) - https://invol.co/cl55ezw
Screwdriver Set - https://invol.co/cl3gqsf
Plier Cutter - https://invol.co/cl55f7e
Cable Tie - https://invol.co/cl55f83
Tools/Components/Items (Lazada):
Air Cooler SHARP (PJA36TVB) - https://bit.ly/36SxngU
Screwdriver Set - https://bit.ly/320woJi
Plier Cutter - https://bit.ly/3hR9QDo
Cable Tie - https://bit.ly/3kFWPOW
Tools/Components/Items (Aliexpress):
Screwdriver Set - https://s.click.aliexpress.com/e/_991NUM
Hi guys, today I'm going to share how to interface or use an ultrasonic sensor with Arduino in Proteus 8 software. In this project, a simple code was created by TEP to measure the distance of any objects from the ultrasonic sensor. Click HERE to add an ultrasonic sensor in Proteus 8.
Components:
Ultrasonic sensor
Arduino
Steps (Standalone):
Open your Proteus software and add ULTRASONIC SENSOR, POT-HG, ARDUINO UNO R3, POWER, GROUND, VIRTUAL TERMINAL and DC VOLTMETER to the workspace.
Connect two outer pins of a potentiometer to power and ground. The middle pin is connected to TestPin at the ultrasonic sensor. Then, connect positive (+) pin DC VOLTMETER to the middle pin of the potentiometer and negative (-) pin to the GROUND. Next, connect RX and TX Virtual Terminal to the TX (Pin 1) and RX (Pin 0) of Arduino UNO R3. Lastly, connect the +5V pin and GND pin to the POWER and GROUND of the ultrasonic sensor board. For Trigger and Echo pin connect to the 7 and 6 of Arduino board.
Double click the ultrasonic sensor and click the folder icon at the Ultrasonic Sensor HEX box. Go to Local Disk (C:) > Program Files (x86) > Labcenter Electronics > Proteus 8 Professional > DATA > LIBRARY > UltraSonicTEP.HEX > Open > OK.
Click HERE to download the Arduino project code. Extract the project code and verify
Copy the Hex file, then paste it into the Proteus Arduino board.
Start the simulation
As you can see, the virtual terminal is showing distance values that depend on the potentiometer attached to the ultrasonic sensor.
If the resistance value is decreasing, then the voltage and distance value is decreasing.
If the resistance value is increasing, then the voltage and distance value is increasing.
Video:
If you have any suggestions, please write in the comment section. Thank you for your time 👷.