
Arduino UNO is a versatile microcontroller board that has captured the hearts of electronics enthusiasts worldwide. To ensure its longevity and safeguard it from potential damage, it's crucial to provide adequate protection. Installing an acrylic case is one of the best ways to achieve this. This comprehensive guide will walk you through installing an acrylic case for your Arduino UNO, enabling you to elevate your projects to new heights. This step-by-step guide shows you how to do just that.
 |
| Arduino UNO acrylic case |
Step 1: Gather Materials
- The package includes four short screws, four long screws, four sleeve gaps, four nuts, and six pieces of acrylic block case.

Arduino UNO package acrylic case

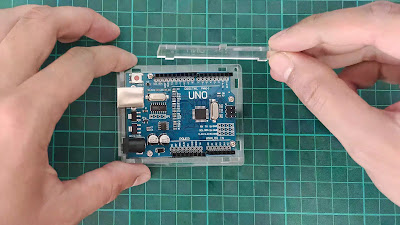
Step 2: Install the bottom cover
- Carefully place the board inside the case.

Ensure it aligns properly with the cutouts - Use short-length screws and sleeves to attach the board to the case.
- Secure the screw with a nut.

Placing nuts - Grab a screwdriver and tighten the screws and bolts.

Ensure that everything is securely fastened

 |
| Place the screws in the designated holes |


Step 2: Install the top cover
- Install the top cover and ensure it aligns properly and fits correctly.
Place left and right block 
Place back block 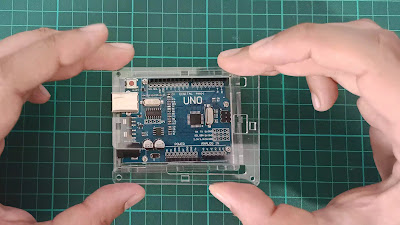
Place the top block - Use long-length screws and sleeves to attach the board to the case.

Place the screws in the designated holes 
Secure the screw with a nuts - Grab a screwdriver and tighten the screws and bolts.

Ensure that everything is securely fastened


Step 3: Check
- And there you have it! Your Arduino Uno board is now safely enclosed in the acrylic case, protected, and ready for your projects.

Completed assemble

The link tools and components replacement I used in this video is listed below:
Shopee:
Lazada:
Aliexpress:
Video:
Thank you for watching! If you have any suggestions or comments, please leave them below. Your feedback is greatly appreciated. Have a great day! 👷


