Thursday, July 22, 2021

How to Clean and Service Air Cooler SHARP | PJA36TVB | Teardown | Installation

Hi guys, today I want to share how to clean and service air cooler SHARP (PJA36TVB). Cleaning and servicing the air cooler regularly can restore the performance of the air quality. In addition, it gives health advantages because dust and pollen are accumulated in it. The best way to clean and service the air cooler is by teardown or disassemble all parts. The link tools I used are listed below:

Tools/Components/Items (Shopee):
  1. Air Cooler SHARP (PJA36TVB) - https://invol.co/cl55ezw
  2. Screwdriver Set - https://invol.co/cl3gqsf
  3. Plier Cutter - https://invol.co/cl55f7e
  4. Cable Tie - https://invol.co/cl55f83
Tools/Components/Items (Lazada):
  1. Air Cooler SHARP (PJA36TVB) - https://bit.ly/36SxngU
  2. Screwdriver Set - https://bit.ly/320woJi
  3. Plier Cutter - https://bit.ly/3hR9QDo
  4. Cable Tie - https://bit.ly/3kFWPOW
Tools/Components/Items (Aliexpress):
  1. Screwdriver Set - https://s.click.aliexpress.com/e/_991NUM
  2. Plier Cutter - https://s.click.aliexpress.com/e/_AN5NB2
  3. Cable Tie - https://s.click.aliexpress.com/e/_APRkIc
Specifications:
  • Brand: SHARP
  • Model: PJA36TVB
  • Dimension (WxHxD): 306 x 745 x 375
  • Power Consumption: 65W
  • Rated Voltage (V): 220-240
  • Rated Frequency (Hz): 50
  • Air Volume: 320m³/h
  • Fan Speed: 4 (Soft| Low| Middle| High)
  • Motor Speed (High Speed): 1150 RPM
  • Water Tank Capacity: 6L
  • Nett Weight: 7.08 kg

Steps:
  1. First, remove the back filter cover, filter and water tank.

  2. 1. Back filter cover

    2. Filter

  3. Remove front and back covers.

  4. 3. Left side back cover screws

    4. Right side back cover screws

    5. Left side back cover screws

    6. Right side back cover screws

    7. Bottom cover screws

    8. Open back cover

  5. In order to deep clean the air cooler, we need to remove all component parts inside the air cooler.

  6. 9. Unscrew fan base

    10. Unscrew fan base

    11. Unscrew wire plug holder

    12. Remove fan base

    13. Remove electronic parts

    14. Remove louvres motor

    15. Separate covers

    16. Remove electronic parts

    17. Remove electronic parts

    18. Remove fan motor

    19. Unscrew fan shaft

    20. Remove handle fan

    21. Remove handle fan

    22. Pull out fan

    23. Unscrew water pump

  7. Plastic parts such as filter cover, front cover, back cover, fan and etc should be clean with soap and rinse with water.

    24. Cleaning front cover with soap

  8. For electrical and filter parts just brush off any dust and wipe with a dry cloth.

    25. Wiping water pump using a dry cloth

  9. Next, install all covers and component parts in reverse order removal. Note: Insert grease between fan cover and fan handle. 

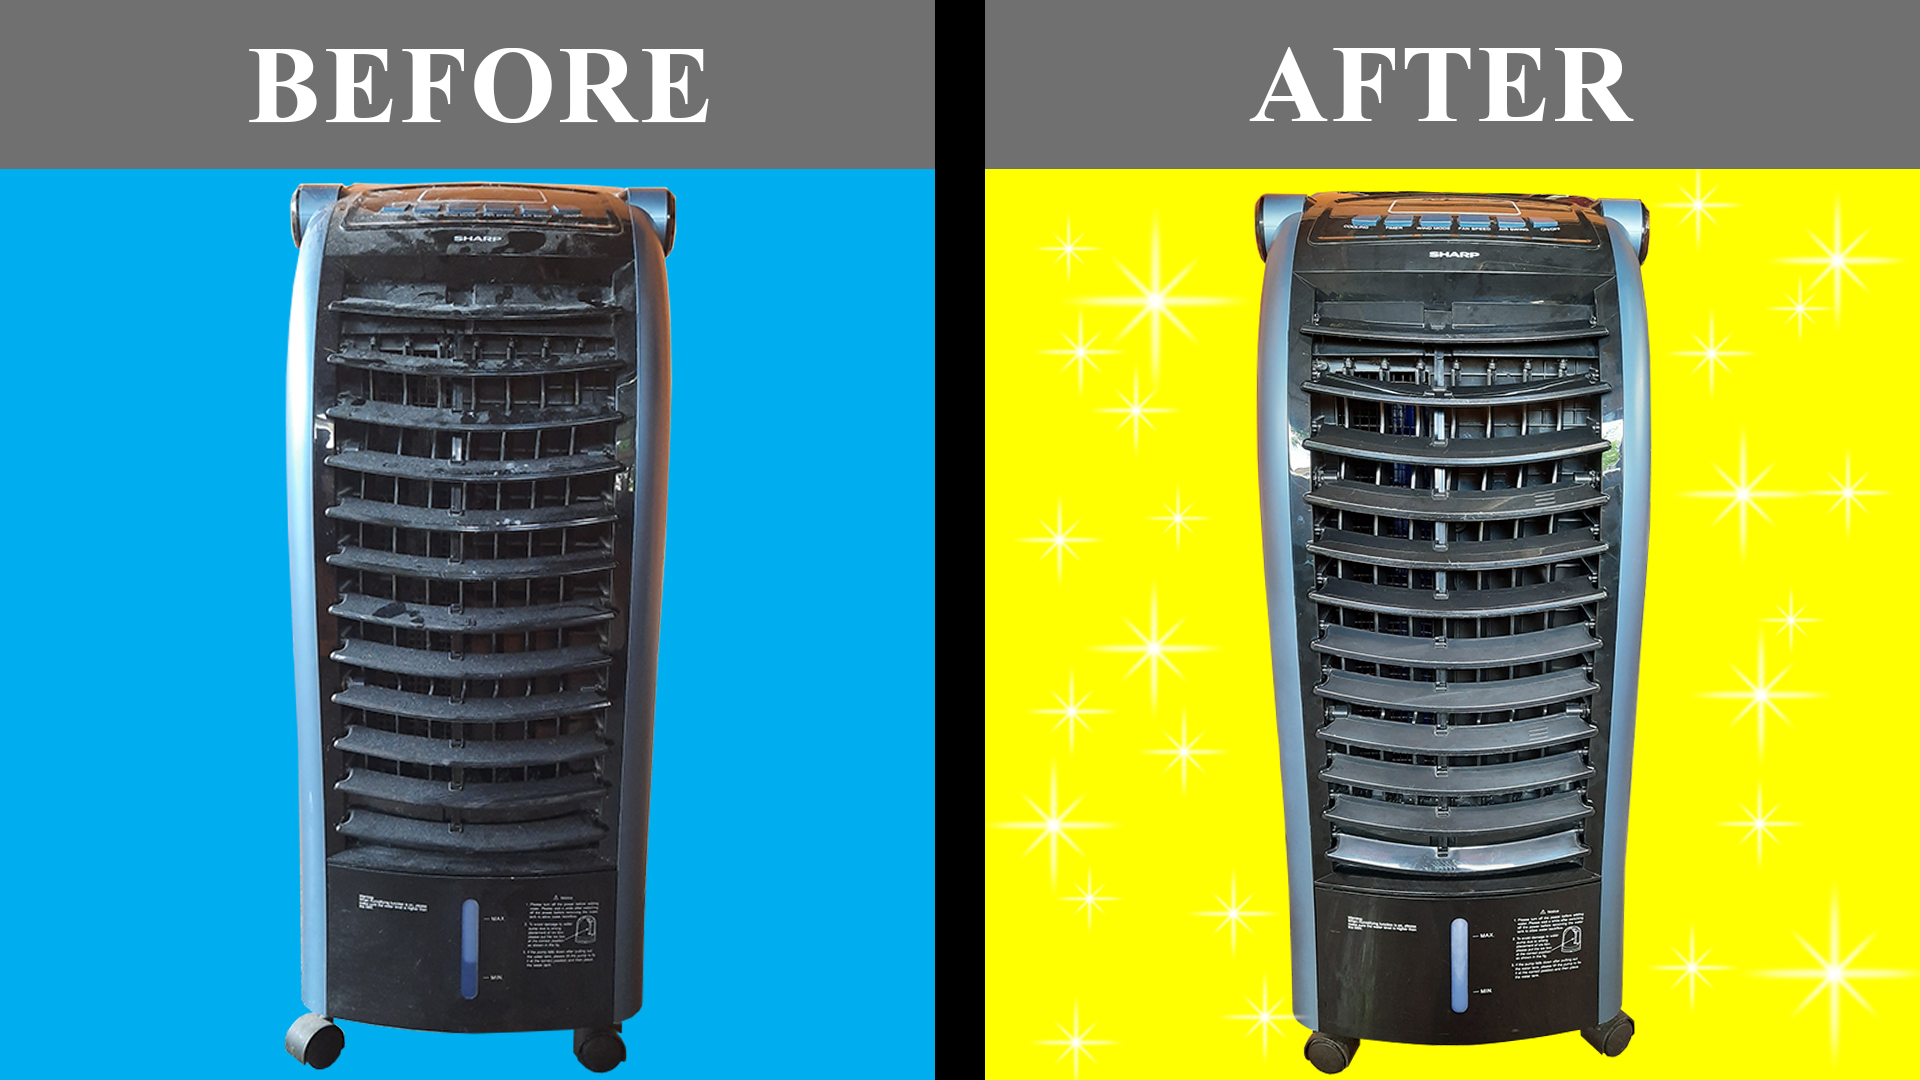
    26. Greasing between fan cover and handle

  10. If the process of cleaning the air cooler is complete, try turning on your air cooler. The air it releases feel cooler and has less noise.

    Before and after clean and service

Video:


If you have any suggestions, please write in the comment section. Thank you for your time 👷.

Friday, July 16, 2021

How to Interface | Use Ultrasonic Sensor with Arduino in Proteus 8

Hi guys, today I'm going to share how to interface or use an ultrasonic sensor with Arduino in Proteus 8 software. In this project, a simple code was created by TEP to measure the distance of any objects from the ultrasonic sensor. Click HERE to add an ultrasonic sensor in Proteus 8.


Components:

  • Ultrasonic sensor
  • Arduino

Steps (Standalone):
  1. Open your Proteus software and add ULTRASONIC SENSOR, POT-HG, ARDUINO UNO R3, POWER, GROUND, VIRTUAL TERMINAL and DC VOLTMETER   to the workspace.


  2. Connect two outer pins of a potentiometer to power and ground. The middle pin is connected to TestPin at the ultrasonic sensor. Then, connect positive (+) pin DC VOLTMETER to the middle pin of the potentiometer and negative (-) pin to the GROUND. Next, connect RX and TX Virtual Terminal to the TX (Pin 1) and RX (Pin 0) of  Arduino UNO R3. Lastly, connect the +5V pin and GND pin to the POWER and GROUND of the ultrasonic sensor board. For Trigger and Echo pin connect to the 7 and 6 of Arduino board.


  3. Double click the ultrasonic sensor and click the folder icon at the Ultrasonic Sensor HEX box. Go to Local Disk (C:) > Program Files (x86) > Labcenter Electronics > Proteus 8 Professional > DATA > LIBRARY > UltraSonicTEP.HEX > Open > OK.


  4. Click HERE to download the Arduino project code. Extract the project code and verify

  5. Copy the Hex file, then paste it into the Proteus Arduino board.


  6. Start the simulation

  7. As you can see, the virtual terminal is showing distance values that depend on the potentiometer attached to the ultrasonic sensor. 

  8. If the resistance value is decreasing, then the voltage and distance value is decreasing.


  9. If the resistance value is increasing, then the voltage and distance value is increasing.


Video:


If you have any suggestions, please write in the comment section. Thank you for your time 👷.

Monday, July 5, 2021

How to Add Water Level Sensor Library to Proteus 8 | Rain | Liquid | Generic

Hi guys, today I want to share how to add a water sensor library in Proteus 8. A water sensor is a device used to detect the presence, level, volume, and/or the absence of water by having a parallel line wire on board to measure electrical conductivity.


Water Sensor Applications:

  • Liquid level detection
  • Water leak detection
  • Water level alarm
  • Monitoring water level
  • Rain/water sensing
  • Etc

Steps:
  1. Download the water sensor library file at TheEngineeringProjects.com or click the link HERE. The download link will appear after 20 seconds.

  2. Double click the zip file and go to Soil Moisture Sensor Library for Proteus > Proteus Library. You will find three files under the Proteus Library folder, named as:
    -WaterSensorTEP.IDX
    -WaterSensorTEP.LIB
    -WaterSensorTEP.HEX


  3. Extract these three files and place them in the Proteus libraries folder (C:\Program Files (x86)\Labcenter Electronics\Proteus 8 Professional\DATA\LIBRARY).

  4. Open your Proteus software and search for the water sensor component. 


  5. Double click and drag to add to the Proteus 8 workspace.


Video:

Thank you for your time. Next post, I will update you on how to use the water sensor in Proteus 8.