
Are you looking for an easy way to measure temperature and humidity using an Arduino? The DHT11 sensor is one of the most popular and affordable choices for beginners. In this blog, we’ll guide you through testing a DHT11 sensor with simple Arduino code, wiring diagrams, and step-by-step instructions.
 |
| DHT11 Sensor with Arduino |
What is the DHT11 Sensor?
The DHT11 is a basic temperature and humidity sensor used in many DIY electronics projects. It operates on low power and provides reasonably accurate readings, making it ideal for home automation, weather stations, and IoT applications.
 |
| Dimension and specifications of DHT 11 |
Step-by-Step Instructions
Step 1: Components Required
To test the DHT11 sensor with an Arduino, you’ll need:
✅ Arduino Uno/Nano
✅ DHT11 Sensor
✅ Jumper Wires
✅ Breadboard
 |
| Components for Testing |
Step 2: Wiring the DHT11 with Arduino
Here’s how to connect the DHT11 sensor to your Arduino:
 |
| Diagram Showing Wiring |
💡 Note: Some DHT11 modules have a pull-up resistor built-in. If you’re using a raw sensor, connect a 10kΩ pull-up resistor between VCC and Data pin for stable readings.
Step 3: Arduino Code for Testing DHT11
Now, let’s upload a simple code to read temperature and humidity from the DHT11 sensor. You can DHT11 code HERE.
#include <DHT.h>

// Define sensor type
#define DHTPIN 8      // Data pin connected to pin 8
#define DHTTYPE DHT22 // Change to DHT22 if using it

DHT dht(DHTPIN, DHTTYPE);

void setup() {
  Serial.begin(9600);
  Serial.println("Testing DHT sensor...");
  dht.begin();
}

void loop() {
  delay(500); // Wait 2 seconds between readings

  float temperature = dht.readTemperature(); // Celsius
  float humidity = dht.readHumidity();

  // Check if readings are valid
  if (isnan(temperature) || isnan(humidity)) {
    Serial.println("Failed to read from DHT sensor!");
    return;
  }

  Serial.print("Humidity: ");
  Serial.print(humidity);
  Serial.print(" %\t");
  Serial.print("Temperature: ");
  Serial.print(temperature);
  Serial.println(" °C");
}
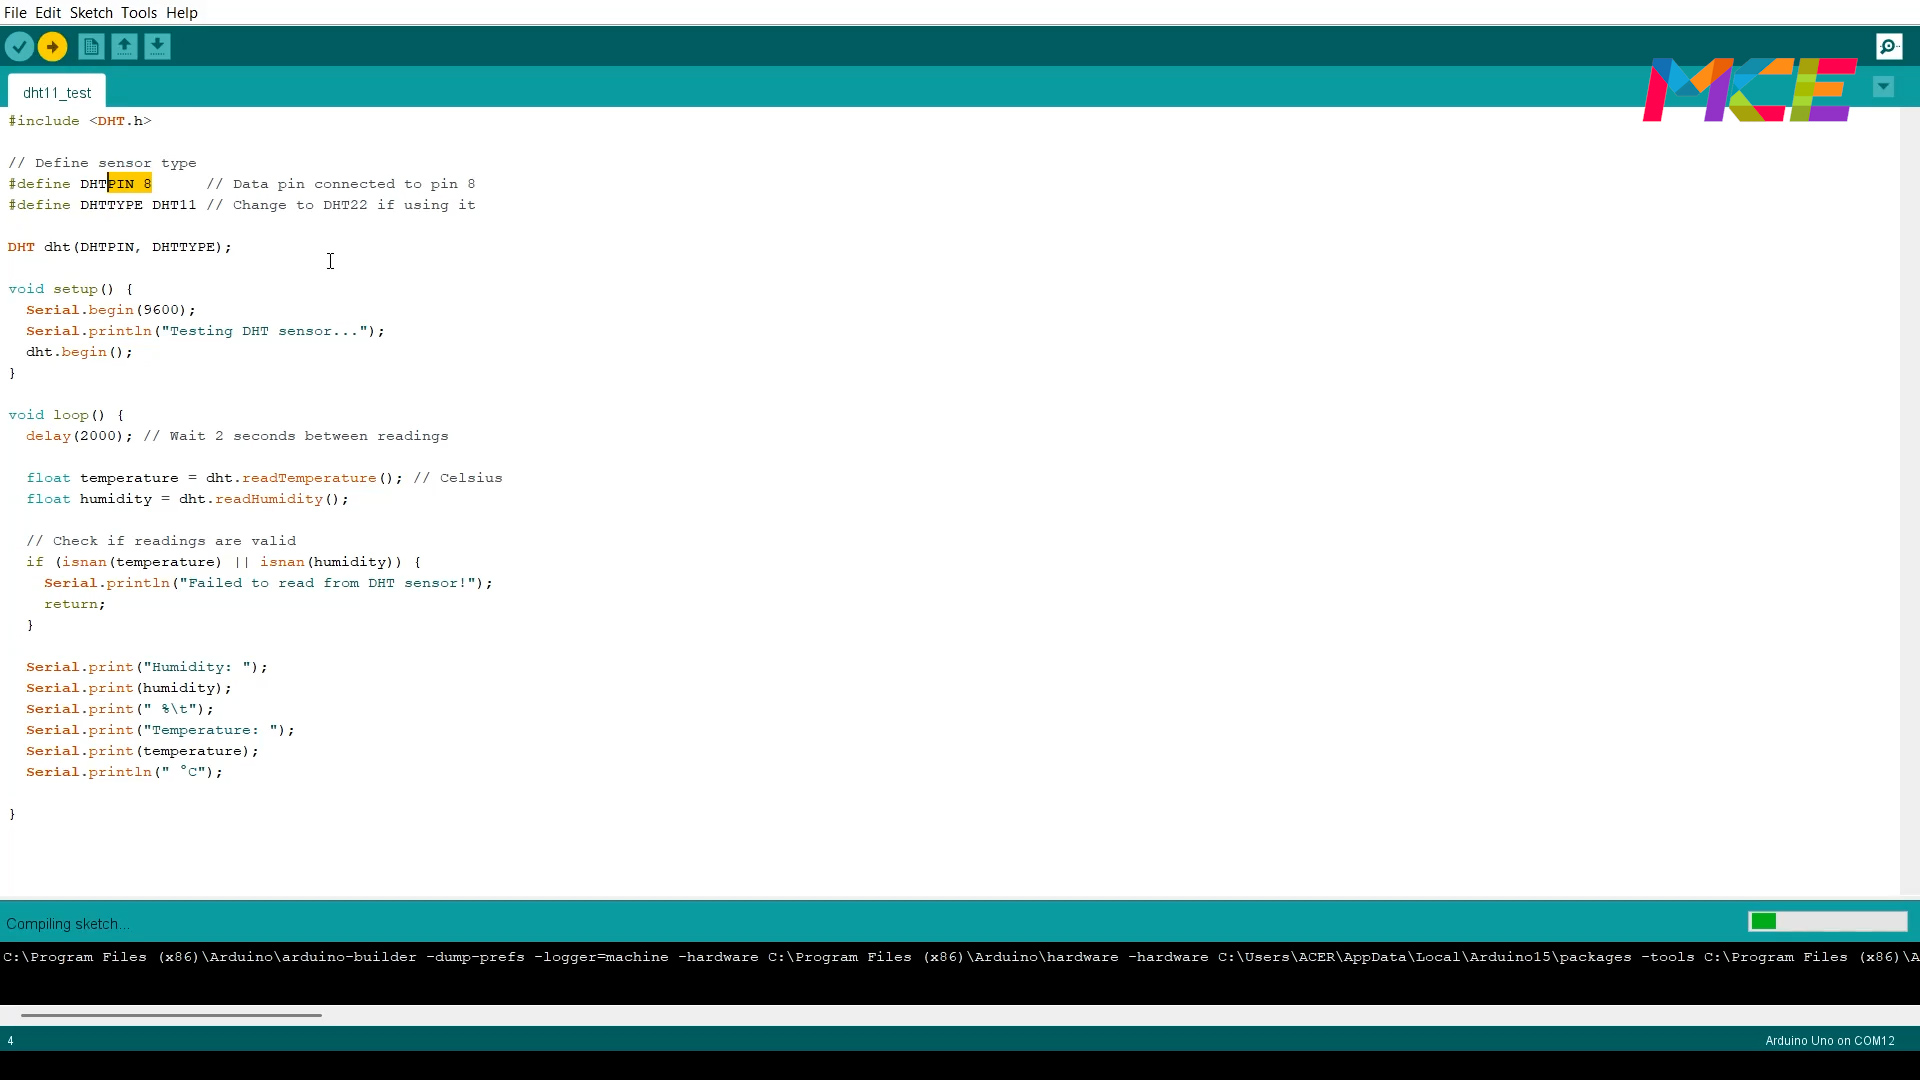 |
| Open Arduino IDE and copy-paste the code. |
Step 4: Expected Output
Once uploaded successfully, you should see readings like this:
 |
| Temperature Increases When a Flame is Brought Near the DHT11 |
Conclusion
Congratulations! 🎉 You’ve successfully tested the DHT11 sensor with Arduino. This setup is great for weather monitoring, home automation, and IoT projects.
Tools and components
Shopee:
Lazada:
Aliexpress:
Video
🔔 If you found this guide helpful, share it with fellow makers! For more tutorials, subscribe to our YouTube channel and follow us on social media. 🚀
No comments:
Post a Comment