Today, I will share a review and installation of solar street LED lights. It is 100% powered by sunlight, with no wire and an electrician for installation. Hence, you can save lots on electricity bills annually.
3 Types of Installation:
- Wall mount - using 4 steel wall plugs
- Steel pole - using bracket (nuts and bolts)
- Concrete pole - using a flexible clamp
Specifications:
- LED Beads: 1666 pieces
- Material: Aluminium
- Battery Capacity: 15000mh
- Lifespan: 10 - 15 years
- Lit area: 500 m²
Steps
- Unboxing solar street light. Package:
- Solar light head
- Arm pole
- Arm pole bracket
- Remote control
- Solar street light manual
- Fixing screws and battery - Insert remote control battery.
- Remote control button description.
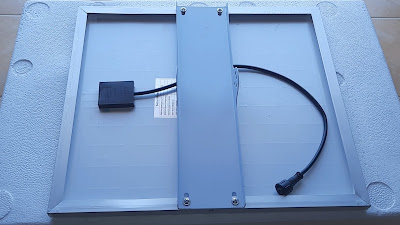
- Place the solar on a flat surface to avoid damage when installing. Install the mount bracket of a solar panel (4 nuts and screws).
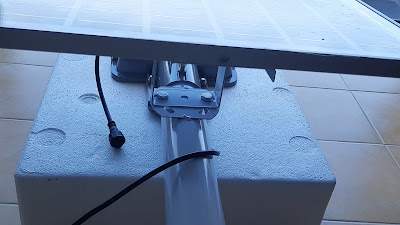
- Install the solar panel onto the arm pole (2 nuts and bolts).
- Adjust the best tilt angle for a solar panel.
- Connect the cable of the solar panel and solar light head.
- 3 types of installation for solar street light.
- Wall mount
- Steel pole
- Concrete pole - Adjust the lighting mode according to your needs.
- Solar street light overview.
Video:
If you have any suggestions, please write in the comment section. Thank you for your time 👷.


No comments:
Post a Comment